
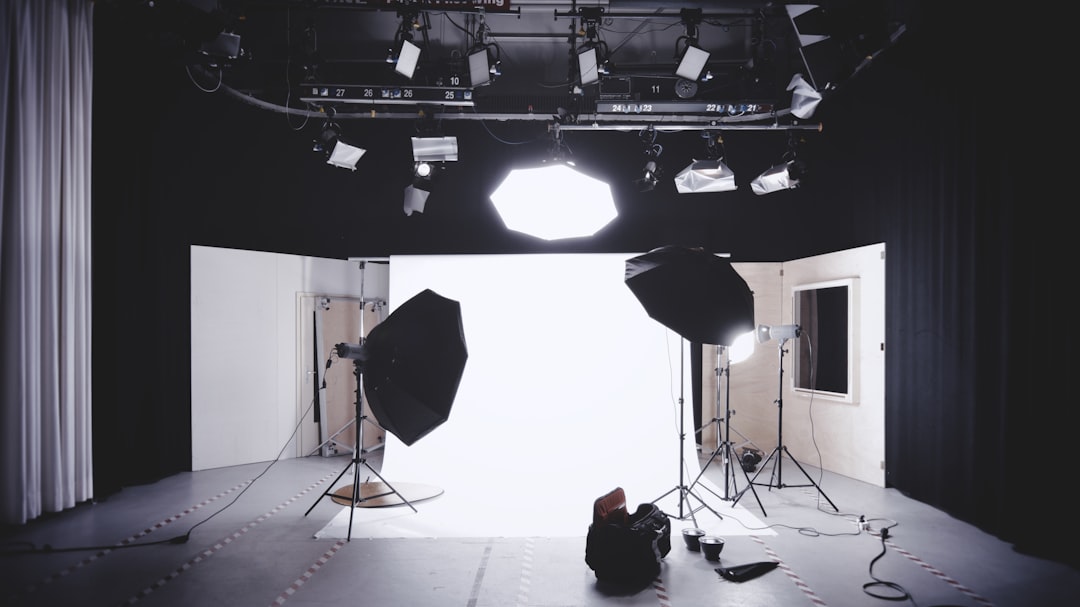
The safest place to get a Schengen visa photo is a professional passport photo studio or a biometric photo service that understands European visa standards. A Schengen visa photo booth can work, but only if it produces the required size, plain background, neutral expression, even lighting, and correct facial positioning. Check the destination consulate’s current instructions before printing. The camera does not negotiate; a technically unsuitable image can delay or derail your application.
To get a compliant Schengen visa photo, use a professional passport photo studio or a biometric photo service that explicitly handles European visa images. A Schengen visa photo booth can be convenient, but it is suitable only when it provides the correct format, plain background, neutral expression, even lighting, and accurate facial positioning. Before you pay, confirm the current instructions of the consulate or visa application center handling your file.
The practical issue is not whether the photograph looks attractive. It is whether automated systems and consular staff can identify your face consistently. A photograph with glare, shadows, teeth showing, hair over the eyes, or poor framing may be rejected even when it looks perfectly acceptable as a casual portrait. The camera does not negotiate.
Why Where You Get a Schengen Visa Photo Matters
Where you obtain the photograph matters because different providers apply very different quality controls. A general drugstore kiosk may print a face onto paper, but printing is not the same as biometric compliance. A portrait photographer may produce a polished image, yet flattering lighting, a softened background, or excessive retouching can make the photograph less suitable for identity verification.
The safest provider is one that uses the terms Schengen visa photo, European visa photo, or biometric photo service in its service description. The operator should understand direct facial positioning, neutral expression, eye visibility, uniform illumination, and accurate cropping. Ask one direct question before the session: “Do you check the photograph against the current requirements of the relevant consulate or visa center?” A confident, specific answer is useful. A vague answer is not.
Country-specific practice also matters. Schengen rules establish common standards, but the receiving consulate, outsourced visa center, or application portal may specify the number of prints, acceptable paper, digital file limits, or whether a photograph is captured at the appointment. Those instructions control the practical submission. Do not assume that a photograph accepted for one country, application center, or document type will automatically be accepted for another.
What a reliable provider should offer
- A plain, evenly lit background without visible texture or shadows.
- A camera positioned at face level, with the head neither tilted nor turned.
- A preview that lets you check eyes, hair, glasses, expression, and framing.
- Correct cropping and dimensions for the requested application.
- Prints and, where permitted, a properly sized digital file.
- Clear instructions about how many copies to bring.
A provider that specializes in official documents should be able to explain these points without turning the session into a fashion shoot. Biometric photography is controlled documentation. Your most flattering angle is not part of the legal test.
Core Schengen Biometric Photo Standards
Before choosing a location, separate binding requirements from local practice. The common biometric principles are straightforward: the photograph should be recent, in color, sharply focused, evenly exposed, and taken against a plain light background. You should face the camera directly, keep your head upright, maintain a neutral expression, and look straight ahead. Both eyes must be open and clearly visible.
Facial visibility is the central concern. Hair over the eyebrows or eyes can obscure the facial outline and interfere with reliable comparison. A broad smile or visible teeth changes the geometry around the mouth and cheeks. That is why a neutral expression is required even when the applicant naturally smiles for every camera. Keep your lips together, relax your jaw, and look at the lens rather than at your own preview.
Glasses are a recurring source of avoidable problems. Remove them unless the applicable authority expressly permits them and you have a compelling reason to wear them. Frames can cover the eyes, and lenses can create reflections. Tinted lenses are especially unsuitable. Head coverings may be accepted for religious or medical reasons, but the face must remain visible from chin to forehead, and the fabric must not create shadows across the face.
Lighting and background are not cosmetic details
Uneven light can create dark areas under the eyes, along the nose, or beneath the chin. Strong side lighting may make one side of the face substantially darker than the other. A flash reflected from glasses produces a bright patch over the eye. These are not minor aesthetic imperfections; they reduce the quality of the biometric image.
The background should be plain and light, with no furniture, door frames, patterns, or visible horizon. Stand far enough from the background to prevent a head shadow. The image should show the head and upper shoulders with balanced space around the face. Excessive empty space makes the face too small; tight cropping can cut the hair or chin. The correct framing is deliberate, not approximate.
If the software cannot read your face clearly, the officer will not rescue the image.
Step-by-Step: Choosing and Using a Photo Provider
Use the following process when deciding where to get a Schengen visa photo. First, identify the authority receiving your application. This may be a consulate, an embassy-appointed visa center, or another authorized provider. Read its current checklist and application instructions. Confirm whether you need printed photographs, a digital upload, or both. Also check the stated dimensions and the required number of copies.
Second, compare providers. Search for a passport photo studio or biometric photo service that specifically mentions Schengen visas. A studio with experience in official photographs should know how to position the camera and control light. If you are considering a Schengen visa photo booth, inspect the machine before using it. Does it show a clear preview? Does it support the required dimensions? Does it give useful instructions rather than simply counting down from ten?
Third, prepare correctly. Wear ordinary clothing that contrasts with the light background. Avoid uniforms unless your circumstances require one. Remove hats, fashion glasses, heavy accessories, and anything that hides the face. Arrange hair away from the eyes and eyebrows. Sit or stand upright, square your shoulders, and keep your head level. Look at the camera lens, not toward a light or screen.
Inspect the image before accepting it
- Are both eyes open, visible, and free from glare?
- Is your expression neutral, with no smile or visible teeth?
- Is your head centered, upright, and not tilted?
- Is the background plain, light, and evenly exposed?
- Are the hair, eyebrows, chin, and sides of the face clearly visible?
- Are there shadows, red eyes, blur, reflections, filters, or digital smoothing?
- Does the crop follow the receiving authority’s stated dimensions?
Fourth, request the correct output. If the application requires paper photographs, verify the print size and quality. If it requires a digital image, ask for the original compliant file rather than a screenshot of a printed photograph. Do not resize it repeatedly through messaging applications; compression can reduce sharpness and alter the file.
Finally, compare the photograph with your application instructions one more time before submission. Requirements can differ between a visa application and a passport renewal, even when both use biometric images. Keep spare copies only when the authority permits them. Red flag: fix it before you submit.
Common Mistakes That Cause Photo Problems
Many rejected or questioned photographs fail for ordinary reasons. The applicant smiles because the image is being treated like a social profile picture. Teeth become visible, the mouth shape changes, and the expression is no longer neutral. The correction is simple: relax the face, close the lips naturally, and practice looking calmly at the lens before the session.
Another common mistake is hair across the eyes or eyebrows. A hairstyle can look neat in daily life while still obscuring facial landmarks in a small biometric image. Move the hair away from the eyes for the photograph. Do not rely on later editing; digital manipulation should not be used to reconstruct or materially alter facial features.
Shadows and glare deserve particular attention. A wall behind the head may look white to the eye but show a hard shadow in the photograph. Glasses may appear transparent until the flash produces a reflection over one pupil. Ask the provider to retake the image if the eyes are not completely clear. Changing the angle of the light or removing the glasses is preferable to hoping an automated check will be charitable.
Other avoidable errors
- Wrong proportions: the face is too small, too large, or cropped too tightly.
- Head tilt: one ear or shoulder appears noticeably higher than the other.
- Uneven exposure: the forehead is bright while the lower face is dark.
- Busy clothing or background: visual details compete with the face.
- Low-quality printing: the image is grainy, streaked, or color-shifted.
- Old photograph: your appearance has changed since the image was taken.
- Unapproved retouching: skin smoothing or reshaping alters identity details.
Do not confuse passport-photo standards with flattering portrait photography. A professional portrait may use dramatic shadows, a three-quarter angle, or a gentle smile. Those choices are intentional in portraiture and inappropriate here. The objective is stable recognition, not a photograph worthy of a frame.
For additional context on image preparation, review this guide to professional passport photo studio practices and the detailed discussion of Schengen visa photo requirements. Still, the receiving consulate’s current instructions remain decisive.
Studio, Booth, or Home: Which Option Is Safest?
A professional service is generally worth using when you are applying under time pressure, need both print and digital files, wear a head covering, have difficulty positioning yourself, or have previously had an official photograph rejected. The operator can identify problems that applicants often miss, particularly slight head tilts, background shadows, and reflections in lenses.
A booth may be reasonable for a straightforward application when it provides a clear live preview and supports the requested output. Choose a booth in a controlled indoor location rather than one exposed to changing daylight. Follow its positioning marks precisely, but do not accept the first image automatically. Take another image if the expression, lighting, or framing is wrong.
Home photography is possible, but it requires more than a recent smartphone and a white wall. You need diffuse light, a level camera, adequate distance from the background, a stable frame, and accurate final cropping. Do not use a selfie camera at arm’s length; the perspective can distort facial proportions. Have another person operate the camera, then review the original file at full resolution.
When to retake the photograph
Retake it if the image contains any obstruction, glare, visible teeth, heavy shadow, blur, colored background, or questionable crop. Retake it if your hair covers the eyes, if your head is tilted, or if the face appears unusually small within the frame. A retake is not excessive caution. It is a controlled correction before the photograph becomes attached to an expensive and time-sensitive application.
Use the same standard whether you are visiting a local studio, a pharmacy kiosk, or a dedicated biometric provider. If the staff member says the image is “good enough” without checking the relevant instructions, ask for a technical review or choose another provider. The camera does not negotiate; neither should your quality control.
Frequently Asked Questions
Where is the best place to get a Schengen visa photo?
A professional passport photo studio is usually the safest option because staff can control the background, lighting, head position, facial expression, and final dimensions. Choose a studio that specifically offers Schengen visa or biometric photos, not merely flattering portraits. Ask whether the image will be checked against the destination country’s current consular instructions. Review the printed and digital versions before leaving, because a small technical defect is easier to correct at the studio than after submission.
Can I use a Schengen visa photo booth?
A Schengen visa photo booth may be acceptable if it produces images meeting the applicable biometric specifications and provides the correct print format. However, many booths are designed for general passport photos and may not explain country-specific submission requirements. Inspect the preview carefully: your eyes must be visible, your face must be evenly lit, and the background must be plain and light. If the booth cannot provide a reliable preview or suitable dimensions, use a professional biometric photo service instead.
Can I take my own Schengen visa photo at home?
Yes, you can take a Schengen visa photo at home, but the risk of rejection is higher. You need a neutral expression, direct eye contact, natural skin tones, a plain light background, even lighting, and accurate cropping. Do not use filters, retouching, shadows, glare, or casual snapshots. The final image must also match the consulate’s required print or digital format. A professional service is often cheaper than repeating an appointment or submitting an unusable photograph.
What should a Schengen visa photo look like?
The usual Schengen visa photo is a recent color photograph with a plain, light background and a neutral expression. The applicant should face the camera directly, keep both eyes open and clearly visible, and avoid hair covering the eyes or eyebrows. Glasses should normally be removed to prevent glare and frame obstruction. Exact dimensions, number of prints, and digital-upload rules can vary by consulate or visa center, so verify the instructions for your application location before printing.