
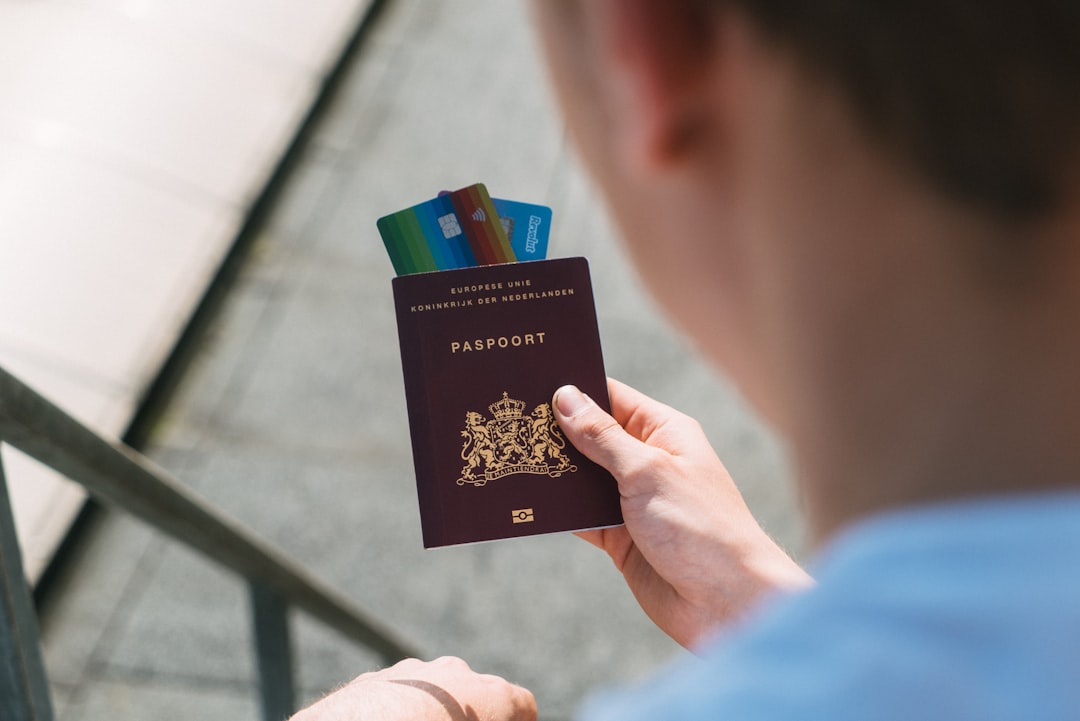
For a visa photo, wear ordinary clothing that contrasts with the required background and does not hide your face, neck, or eyes. A plain dark or medium-color shirt is usually the safest choice; avoid uniforms, costumes, white tops against white backgrounds, bulky collars, and reflective jewelry. Head coverings may be accepted for religious or medical reasons, but rules vary by country. Always check the destination authority’s current photo instructions before taking the image.
For a visa photo, wear normal clothing that contrasts with the required background and leaves your face, eyes, neck, and shoulders clearly visible. A plain medium- or dark-colored shirt is usually the lowest-risk choice. Avoid uniforms, camouflage, bulky collars, reflective accessories, and white clothing against a white background. Clothing rules are not identical across U.S., Schengen, Canadian, or other visa systems, so confirm the destination authority’s current instructions before you take the picture. A photo can be technically sharp and still fail because the shirt, head covering, or neckline interferes with the required composition.
Why Visa Photo Clothing Choices Matter
Clothing matters because a biometric photo is evaluated as an image, not as a fashion decision. The reviewer needs a clean separation between your head, neck, shoulders, and the background. If a light shirt blends into a white background, the lower outline of the image becomes less distinct. If a high collar reaches the jawline, it can make the head appear poorly positioned. Neither problem is improved by explaining that the shirt was expensive.
The most reliable visa photo clothing choice is ordinary daily wear in a solid, medium or dark color. Navy, charcoal, medium blue, brown, or another non-reflective shade generally creates useful contrast with a white or light background. Avoid large logos, tight stripes, busy checks, sequins, metallic fabric, and deep shadows created by oversized collars or hoods. Small, non-reflective jewelry is often less risky than large earrings or necklaces, but it must not cover the face or produce glare.
Do not confuse clothing guidance with identity requirements. Your face must remain natural and clearly recognizable; the photo is not the place to introduce a dramatic new hairstyle, theatrical makeup, or a statement accessory. The goal is a neutral, unobstructed image. Close is not compliant. The camera sees millimeters, not intentions.
How rules differ by destination
A U.S. visa photo generally calls for normal street clothing rather than a uniform. Religious clothing worn daily may be allowed, subject to facial-visibility rules. U.S. instructions also treat eyeglasses separately from clothing, and current rules are notably strict, so do not rely on a general international photo habit.
Schengen countries and other national authorities may use similar biometric principles while applying their own specifications for background, head covering, glasses, and image size. Canada, Spain, China, Australia, and other destinations publish country-specific requirements. Use the destination authority’s checklist, not a generic “passport photo” rule. For broader composition guidance, review passport photo requirements, then verify the visa authority’s own instructions.
Step-by-Step Visa Photo Dress Code Guide
Start with the destination, not the closet. Identify the exact visa category and the authority receiving the photo: embassy, consulate, visa center, or online application portal. A tourist visa and a residence application may request different dimensions or digital specifications even when the clothing advice looks similar. Save the current photo instructions before your appointment so you can compare the photographer’s output with the correct standard.
Step 1: Select a low-risk outfit
- Choose a plain, non-reflective shirt, blouse, or sweater.
- Use a color that contrasts with the required background.
- Keep the neckline modest and away from the jawline.
- Remove scarves, hoods, and bulky outer layers unless specifically required or permitted.
- Choose fabric that lies flat and does not create strong folds or shadows.
For a white or near-white background, a pure white shirt is often a poor practical choice because it can merge with the background. A medium or dark top usually gives the image a clearer shoulder boundary. That does not mean every authority formally bans white clothing; it means contrast reduces avoidable rejection risk. Let’s measure it before we submit it: check the actual image, not merely the garment hanging on the chair.
Step 2: Check head coverings and accessories
If you wear a head covering for religious or medical reasons, confirm that the relevant authority permits it. The covering should not hide the cheeks, chin, eyes, eyebrows, or other facial features required for identification. It should also fit securely, without folds crossing the face or casting a shadow. Fashion hats, caps, and decorative headwear are generally a high-risk choice for a biometric image.
Remove sunglasses and tinted lenses. If the destination permits regular glasses, inspect the final image for reflections, darkened eyes, frame obstruction, and shadows. Keep earrings and necklaces small enough that they do not distract from the face or alter the apparent outline. Hair should be arranged away from the eyes and should not create an uneven shadow across the background.
Step 3: Inspect the final photograph
Ask the studio or camera operator to show you the complete image at full size. Check that the face is centered, the shoulders are level, the background is even, and the clothing does not disappear into it. Confirm that the print or digital file meets the destination’s size and quality rules. If you are applying for the United States, compare the image with the relevant USA visa requirements and application process guidance rather than assuming another country’s format will transfer.
Common Visa Photo Clothing Mistakes to Avoid
The most common clothing mistake is choosing an outfit that looks polished in a mirror but performs poorly under controlled lighting. A bright white blouse may blend into the background. A black turtleneck may create a heavy block beneath the face. A glossy blazer may reflect the light source. The image is judged in two dimensions, where texture, contrast, and edges matter more than the outfit’s real-world appearance.
Frequent rejection-risk choices
- Uniforms and camouflage: These can conflict with ordinary-clothing rules or appear to represent an official role.
- Large logos and slogans: They introduce visual distractions and may be cropped unpredictably.
- Hoods, scarves, and high collars: They can cover the neck or approach the jawline.
- White clothing on a white background: The shoulders may lose definition.
- Reflective jewelry: Bright highlights can distract from facial details.
- Costumes or themed clothing: A visa photo is an identification image, not a character reference.
- Heavy layers: Coats and bulky jackets can alter shoulder placement and create shadows.
Another mistake is applying a rule from the wrong country. A clothing choice accepted for a Canadian application may not be the best choice for a U.S. visa photo, and a Schengen photo requirement is not a universal template. Even within one country, online uploads and printed photos may have different technical specifications. If your application is going to Spain, consult the destination-specific Spain visa photo requirements. If it is going to Canada, use the relevant Canada visa photo requirements instead.
Finally, do not edit clothing digitally after the photograph is taken. Removing a logo, changing a shirt color, smoothing a collar, or reconstructing a covered shoulder can create an altered image. Retake the photo with compliant clothing. It is cheaper than correcting a submission after a rejection notice, and considerably less exciting.
A practical final checklist
- Is the outfit ordinary, solid, and non-reflective?
- Does it contrast clearly with the specified background?
- Are the face, eyes, neck, and shoulders unobstructed?
- Are head-covering, glasses, and accessory rules confirmed for this destination?
- Does the final file or print meet the exact size, framing, and quality requirements?
Before submission, inspect the image at its final crop and size. A shirt that looks acceptable in the studio may become a very different shirt after biometric cropping.
Final Compliance Check Before You Submit
Clothing is only one part of compliance. A correct outfit cannot rescue a photo with the wrong dimensions, an uneven background, poor lighting, an open mouth, a tilted head, or an expression that conflicts with the destination’s instructions. Treat the photo as a complete technical submission: clothing, facial position, lighting, image size, and file quality must work together.
For a first-time applicant, the safest workflow is simple. Read the official instructions for the exact destination and visa type, choose plain clothing with clear background contrast, take the image under even lighting, and inspect the result before printing or uploading. Keep the original file and do not apply filters, beauty retouching, or artificial background effects unless the receiving authority explicitly provides a compliant tool.
If a professional studio takes the photo, tell the photographer the destination before the session begins. “Visa photo” alone is not a complete specification. Ask which dimensions, background color, and digital or print format they are using. Then review the finished image yourself. Professional equipment reduces technical errors; it does not replace the applicant’s responsibility to verify the correct standard. Let’s measure it before we submit it.
When requirements appear unclear, use the issuing authority’s current page or contact the consulate or visa center handling your application. Do not resolve uncertainty by combining rules from multiple countries. Close is not compliant, and biometric review has no obligation to reward optimism.
Frequently Asked Questions
What is the best color to wear for a visa photo?
For most visa photos, choose a plain, comfortable shirt in a medium or darker color that contrasts with the background. Avoid white or very light tops when the background is white, because the shoulders may visually disappear. Do not wear uniforms, camouflage, costumes, or clothing that resembles official attire unless the issuing authority specifically permits it. The safest choice is ordinary daily clothing with a modest neckline and no distracting patterns.
Can I wear a uniform in a visa photo?
Usually, you should not wear a uniform, camouflage, or clothing that looks like official service attire in a visa photo. U.S. photo guidance generally expects normal street clothing, with limited exceptions for religious clothing worn daily. Other countries may phrase the rule differently, so the destination authority’s checklist controls. A regular shirt or sweater is safer than formal workwear, a military-style jacket, or anything that could be mistaken for a uniform.
Can I wear a head covering for a visa photo?
A religious head covering may be accepted when it is worn daily for religious reasons, but it must not obscure the face. Requirements commonly focus on keeping the full facial outline visible, with the eyes, nose, and mouth unobstructed. Medical head coverings may also receive limited consideration under some systems. Do not assume approval: check the exact country or consulate instructions, and make sure the covering does not cast shadows on the face.
Can I wear glasses in a visa photo?
Glasses rules differ by visa system and can be stricter than clothing rules. U.S. passport and visa photos generally do not allow eyeglasses except in limited medical circumstances, while another country may publish different instructions. Sunglasses and tinted lenses are typically unacceptable. If glasses are permitted, they must not create glare, hide the eyes, or cast shadows. Verify the destination authority’s current requirements before taking the photo.