
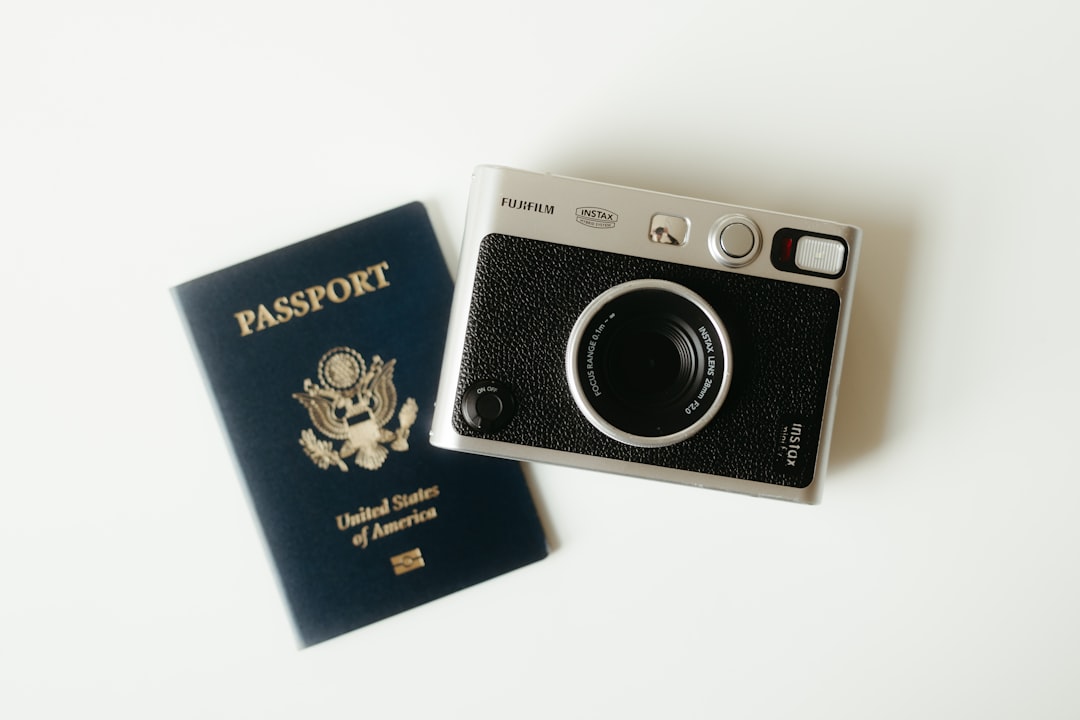
A final visa photo checklist should confirm the correct country standard, size, head position, background, lighting, expression, image quality, and submission format. U.S. visa photos are typically 2 x 2 inches, while Schengen photos are commonly 35 x 45 mm, but consular instructions control. Verify both the digital file and any printed copies before uploading or submitting. Close is not compliant; one incorrect millimeter can trigger a preventable delay.
Use this final visa photo checklist before you upload, print, or hand over your application materials. Confirm the country-specific size, head measurement, background, expression, lighting, image quality, and file format—not merely whether the photo looks attractive. A U.S. visa photo is typically 2 x 2 inches, while a Schengen visa photo is commonly 35 x 45 mm. Those are different standards. Let’s measure it before we submit it.
Why the Final Visa Photo Checklist Matters
The final review matters because visa photos are evaluated as identification images, not as ordinary portraits. A technically attractive photograph can still fail if the head is too large, the background is uneven, or the crop does not match the required dimensions. In compliance review, small errors are not softened by good intentions. The camera sees millimeters, not intentions.
Start by identifying the exact authority processing the application. For a U.S. visa, use the current instructions associated with the Department of State application process. For a Schengen application, check the embassy, consulate, or authorized visa center handling the file. A country may follow common biometric principles while still specifying its own upload method, print requirement, or quality rule.
If your application includes a digital upload and a printed photograph, inspect both versions. Cropping, compression, and printing can change the final result. A file that appears correct on a phone may print with a border or lose detail after resizing. The final visa photo checklist must cover the version actually being submitted.
Three measurements to confirm first
- Final photo dimensions, such as 2 x 2 inches or 35 x 45 mm.
- Head height from chin to crown, measured without hair volume.
- Eye line and face centering within the frame.
U.S. Visa and Schengen Photo Standards
A practical U.S. visa photo checklist begins with the 2 x 2 inch format, equivalent to 51 x 51 mm for a printed photograph. The head should generally measure between 1 and 1 3/8 inches from the bottom of the chin to the top of the head. The applicant should face the camera squarely, keep both eyes open, and maintain a natural, neutral expression. Smiling broadly, tilting the head, or turning the shoulders can undermine biometric consistency.
For a U.S. visa digital image, verify the pixel dimensions and file conditions required by the specific online application system. Do not rely on a generic “passport photo” preset. Digital files may need a square crop, appropriate color, and sufficient resolution without visible pixelation or aggressive compression. If you are also submitting a printed copy, confirm that the print remains exactly 2 x 2 inches after production.
A Schengen visa photo checklist normally starts with a 35 x 45 mm photograph. Many Schengen authorities expect the face to occupy a controlled vertical range, commonly around 32 to 36 mm from chin to crown, with the eyes positioned consistently in the frame. However, the responsible consulate’s current instructions take priority. Do not convert a U.S. square image into a European rectangle by simply trimming the sides; that changes the composition and may leave the head proportionally wrong.
For both standards, use a plain, evenly lit background—usually white or light gray, depending on the authority. Avoid shadows behind the head, glare on the skin, colored walls, visible furniture, patterns, and digital background replacement that leaves halos around hair or shoulders.
For additional biometric composition guidance, review this perfect passport photo resource, then return to the exact visa instructions for your destination.
Step-by-Step Visa Photo Submission Check
Complete the review in a fixed order. This prevents the common mistake of checking the background three times while forgetting the file format. A useful workflow is to inspect the image on screen, measure the composition, and then examine the exported or printed result.
Step 1: Confirm identity and recency
Make sure the photograph shows the current applicant and reflects their present appearance. U.S. visa instructions generally require a recent photograph, and other authorities may state their own recency period. Do not reuse an image if hair, facial hair, weight, glasses, or other significant features have changed enough to affect recognition.
Step 2: Check face and posture
The head must be centered, upright, and facing directly forward. The camera should be at eye level. Keep the mouth closed unless the official rules provide an exception. Both sides of the face should be visible, and hair should not cover the eyes. Religious head coverings may be permitted when worn daily, but they must not obscure the face or create shadows.
Step 3: Inspect lighting and background
Look for balanced illumination across both sides of the face. Remove harsh shadows under the chin, across the eyes, and on the background. The skin should retain natural color, with no red-eye, flash reflection, or excessive retouching. Do not smooth facial features, reshape the jaw, remove distinguishing marks, or apply beauty filters.
Step 4: Verify quality and export
The image must be sharp enough to show facial detail without blur or visible artifacts. Check that the color mode, file type, and file size match the application portal’s instructions. Open the final exported file—not the editing project—to confirm that the crop has not shifted. If printing, measure the paper image with a ruler. Let’s measure it before we submit it.
Common Visa Photo Mistakes to Catch
Most avoidable problems come from treating “almost right” as a category of compliance. It is not. Close is not compliant. A 35 x 45 mm photo and a 2 x 2 inch photo may look similar in a casual comparison, but they produce different aspect ratios. A head that fits correctly in one frame can be too tall or too small after conversion.
Common rejection-risk details
- Incorrect crop: The top of the head is cut off, or excessive empty space is left above it.
- Wrong background: A wall texture, visible corner, gray shadow, or uneven exposure appears behind the applicant.
- Eyewear problems: Reflections, tinted lenses, heavy frames, or covered eyes interfere with facial visibility.
- Expression and pose: The applicant smiles broadly, tilts the head, turns sideways, or opens the mouth.
- Digital alteration: Beauty filters, skin smoothing, face reshaping, or artificial background removal changes the identifying image.
- Print failure: The photograph is blurry, poorly cut, incorrectly scaled, or printed on unsuitable low-quality paper.
Another frequent error is submitting a photo prepared for the wrong authority. A U.S. visa checklist is not interchangeable with a Schengen visa checklist, and Schengen procedures are not identical across every consulate or visa center. Review the application destination, not just the traveler’s nationality. For example, applicants using an Austrian process should check the applicable Austria visa photo requirements rather than borrowing a generic European template.
Finally, compare the face in the photo with the passport and application details. The name, date of birth, and identity document must correspond to the person shown. A perfect crop attached to the wrong application is still a very efficient way to create a delay.
The Final Visa Photo Checklist
Before submission, use this short final audit. Read each item aloud or mark it on a printed checklist. A second person can help identify tilt, shadows, or an uneven crop, but measurement should remain objective.
- I verified the correct destination and current official photo instructions.
- I confirmed the required size: 2 x 2 inches for the applicable U.S. format or 35 x 45 mm for the applicable Schengen format.
- I measured head height and confirmed the face is centered and forward-facing.
- The background is plain, evenly lit, and free of shadows or objects.
- The expression is neutral, the eyes are open, and the mouth position follows the rules.
- Glasses, hats, hair, and religious coverings do not obscure the face.
- The image is sharp, naturally colored, and free of retouching or filters.
- The digital file and printed copy, if required, match the specified format and dimensions.
- I opened the final exported file and measured the printed image after printing.
- The photograph is attached to the correct application and has not been reused after a major appearance change.
For broader U.S. application context, consult the guide to U.S. visa requirements and application process, but use the official application portal or consular instructions as the controlling source for the final photo specifications.
Submit only after every item is confirmed. A ruler is inexpensive; a delayed application is considerably less so. The goal is not a dramatic portrait. It is a precise, recognizable, technically valid image.
Frequently Asked Questions
Can I take my visa photo with a smartphone?
Yes, a smartphone can produce a compliant image if it is used carefully: use the rear camera, place the applicant against a plain background, keep the lens at eye level, avoid portrait-mode blur and filters, and use even lighting. The final file must still meet the destination’s exact dimensions, pixel requirements, color rules, and file-size limits. Equipment does not replace measurement.
Does a white shirt work with a white background?
Usually, clothing is less important than facial visibility and background quality, but a white shirt against a white background can reduce shoulder definition. Choose ordinary clothing that contrasts modestly with the background. Do not wear uniforms unless the applicable rules permit them. The face, eyes, and outline of the head must remain clear without shadows or visual blending.
Should I smile in a visa photo?
Use a neutral expression unless the specific authority clearly allows a natural smile. Keep the mouth closed, eyes open, and head straight. A broad smile can change facial proportions and make biometric comparison less consistent. Children and infants may have limited exceptions, but those rules vary; follow the official instructions for the applicant’s age and application type rather than applying an adult rule mechanically.
Frequently Asked Questions
What should I check on a U.S. visa photo before submitting it?
For a U.S. visa, verify that the photo is 2 x 2 inches, or 51 x 51 mm, with a plain white or off-white background. The head should measure 1 to 1 3/8 inches from chin to crown, and the applicant should face the camera directly with a neutral expression. Confirm the digital file meets the required pixel and file-format rules for the specific application system.
What size should a Schengen visa photo be?
A Schengen visa photo is generally 35 x 45 mm, with a light, plain background and a centered, forward-facing head. Face height is commonly expected to fall within approximately 32 to 36 mm, but the responsible consulate or visa center may apply specific instructions. Check the exact country checklist, because Schengen countries use a shared framework but may differ in operational details.
Can I use the same photo for a U.S. and Schengen visa?
Do not assume that a photo accepted for one visa can be reused for another. U.S. visa photos and Schengen visa photos use different dimensions and may have different digital, print, and head-size requirements. A file cropped to 2 x 2 inches is not automatically acceptable as a 35 x 45 mm Schengen photo. Prepare the image to the standard named in the current application instructions.
Can I wear glasses in a visa photo?
Eyeglasses should normally be removed for U.S. visa photos, except in rare medical circumstances supported by documentation. For Schengen applications, rules can depend on the issuing authority, but glare, tinted lenses, and frames covering the eyes create rejection risk. The safest compliant approach is to photograph the applicant without glasses unless the official instructions clearly allow them.