
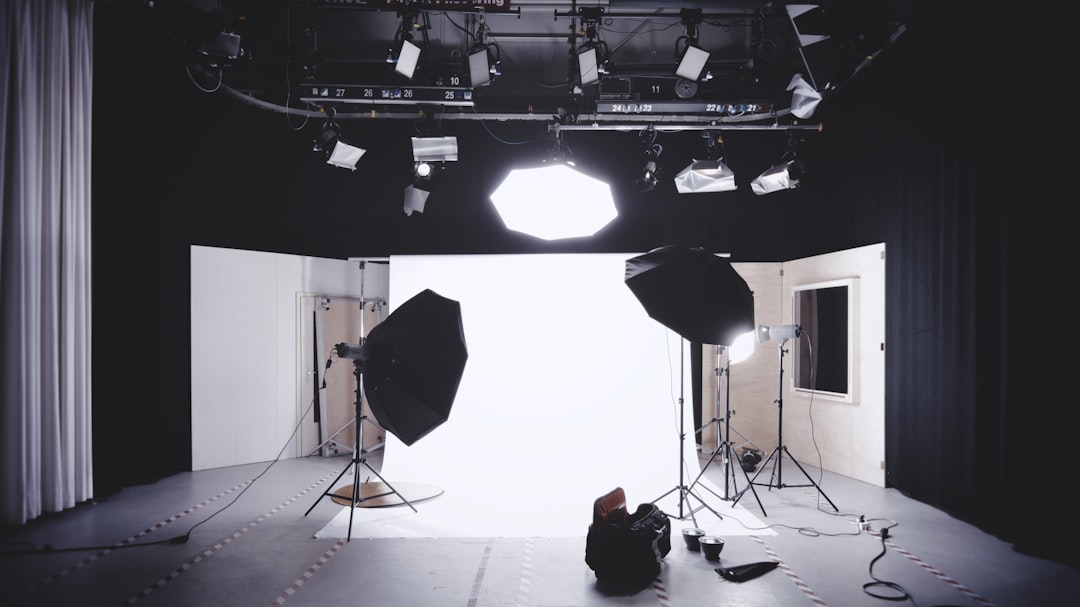
For a compliant Schengen visa photo, use soft, even light that illuminates the entire face without shadows, glare, hot spots, or a dark background gradient. Keep the camera at eye level and position the applicant squarely against a plain, evenly lit background. ICAO biometric-image principles and the responsible consulate’s instructions should both be checked. If facial details are obscured, retake the image; the camera does not negotiate.
Schengen visa photo lighting must show the applicant’s face clearly, evenly, and without shadows, glare, or distracting background variation. The safest setup uses soft, diffused light from in front of the applicant, a plain light background, and a camera positioned at eye level. This is not portrait photography: a flattering side light may look attractive but can obscure the facial structure that biometric systems need to assess. Before submission, compare the image with the responsible consulate, visa center, or application portal’s current instructions. Country-specific practice can affect size, format, and delivery method, while the lighting objective remains consistent: clear facial recognition.
Why Schengen Visa Photo Lighting Matters
Lighting matters because a visa photograph is used as an identity document, not as a personal portrait. Biometric systems and reviewing officers need to see the natural shape and position of the eyes, nose, cheeks, jawline, and mouth. Uneven light can make one side of the face appear substantially darker, create false contours, or conceal details beneath the brow. A photograph may be technically sharp yet still unsuitable if the illumination is poor.
ICAO Doc 9303 provides the broader technical framework for machine-readable travel documents and facial-image quality. A Schengen visa application is also governed by the instructions of the responsible consulate or external service provider. Those instructions control practical matters such as image dimensions, print requirements, digital upload rules, and whether a photograph is captured at the application center. Do not assume that a photo accepted for one country’s passport will automatically satisfy another authority’s visa process.
The practical test is straightforward: the face should be evenly visible from forehead to chin, with both eyes clearly exposed and no distracting reflection. The background should not compete with the face or show a strong pool of light behind the head. If the software cannot read your face clearly, the officer will not rescue the image. That is not a dramatic statement; it is the predictable result of submitting an image designed as a portrait instead of a biometric photograph.
The camera does not negotiate. It records the light you provide, including every preventable shadow.
Applicants who need a broader review of biometric image quality should examine lighting together with framing, expression, sharpness, and facial positioning. These elements work together. Correct light cannot compensate for a face turned away from the camera, and excellent framing cannot compensate for glare over the eyes.
Core Lighting Principles for a Biometric Photo
What even illumination looks like
Even lighting means the left and right sides of the face have broadly comparable brightness. The forehead, cheeks, nose, and chin should not contain abrupt areas of darkness or bright white patches. A reliable studio arrangement uses two soft light sources placed in front of the applicant, one on each side of the camera, at similar height and intensity. A large diffuser, softbox, or bounced light produces a gentler result than a small bare bulb.
Place the applicant several feet away from the background when space permits. This reduces the chance that the head will cast a hard shadow onto the wall and helps create a more uniform background. Keep the light sources close enough to illuminate the face but not so close that they create hot spots on the forehead or cheeks. The exact distance depends on the equipment and room; inspect the result rather than relying on a formula.
Why one-sided light and windows cause problems
A window on one side can produce a bright cheek and a dark cheek, especially on an overcast-to-sunny day. Direct sunlight is particularly unreliable: it changes quickly, creates hard nose and chin shadows, and can cause squinting. If daylight is used, place the applicant facing the window and soften it with a sheer curtain. Do not mix strong daylight on one side with a warm household lamp on the other. The color difference may be visible even when the exposure appears acceptable.
Direct flash deserves the same caution. It may flatten the face but can create reflections on eyeglasses and shiny skin. Flash aimed at a nearby wall may also produce uneven bounce. Test the image at the required submission size, not only on the camera’s small preview screen. A faint glare that looks harmless on a phone can become a bright obstruction over an eye after compression or printing.
Background lighting
A plain background should look plain. Watch for a bright halo, a dark strip along one side, a visible corner, or a gradient caused by the light source. These defects may indicate that the applicant is too close to the wall or that the background is being lit from an angle. Background rules vary in wording and implementation, so verify the responsible authority’s instructions. The objective is stable separation between the face and the background without introducing artificial shadows.
Step-by-Step Guide to Even Lighting
Step 1: Prepare the room
Choose a room where you can control sunlight and switch off competing lamps. Remove reflective objects behind the applicant and use a plain, light-colored background that matches the applicable instructions. Clear the floor and wall area; a small visible edge, door frame, or curtain can make the photograph appear informal. Place the applicant far enough from the background to avoid a head shadow, but not so far that the image becomes poorly exposed.
Step 2: Position the lights
Start with two diffused lights in front of the applicant and slightly to each side of the camera. Keep them at comparable height. If one side of the face is darker, do not correct it by increasing only the bright side; reduce the imbalance or add gentle fill light. Avoid lighting from below, which alters the natural appearance of the eye sockets and nose. Avoid strong top light, which can create shadows under the eyebrows and eye area.
Step 3: Position the applicant and camera
The applicant should face the camera directly, with the head centered and level. The camera should be at eye height, not noticeably above or below the face. Ask the applicant to keep a neutral expression, close the mouth naturally, and look straight into the lens. Hair should not cover the eyes or cast a shadow over the eyebrows. Glasses, if permitted by the relevant instructions, must not create reflections or obscure the eyes.
Step 4: Inspect before accepting the image
Review the photograph at full resolution. Check both eyes for visibility, the bridge and sides of the nose for consistent detail, and the cheeks for abrupt dark areas. Inspect the space behind the head for a shadow or bright halo. Confirm that no flash reflection appears in eyeglass lenses. Also check that the image is sharp and free from filters, smoothing, color casts, or digital reshaping.
For applicants comparing national practices, the published guidance on Spain visa photo requirements illustrates why size and background instructions must be checked separately from general biometric principles. Similarly, broader passport photo requirements are useful for understanding the common quality logic, but they do not replace the instructions for the specific Schengen application.
Step 5: Verify the delivery format
Only after the lighting is acceptable should you crop, resize, print, or upload the image. Cropping cannot remove a shadow on the face, and aggressive compression can destroy fine facial detail. Preserve the original file until the final submission has been checked. If the application center captures the photograph on site, follow its staff instructions; do not bring a studio assumption into a controlled capture process.
Common Passport Photo Shadows and Other Errors
Common lighting mistakes
- One lamp from the side: This creates a dark cheek and a hard nose shadow. Move the light toward the camera axis and diffuse it.
- Applicant against the wall: The head may cast a distinct shadow. Increase the distance from the background and illuminate the subject evenly.
- Direct sunlight: It creates hard shadows and changing exposure. Use controlled, diffused light instead.
- Direct flash: It can cause eyeglass glare, shiny facial hot spots, and a visible shadow behind the head.
- Mixed color temperatures: A window and a yellow household bulb can produce uneven color across the face. Use one controlled lighting type.
- Hair over the eyebrows or eyes: Even if the face is well lit, covered facial features reduce biometric usability. Secure the hair without changing the natural face shape.
- Beauty mode or retouching: Skin smoothing and facial reshaping alter the identity image. Disable filters completely.
Smile lines are not a lighting defect, but a broad smile can change the visible shape of the mouth and cheeks. Use a neutral expression unless the responsible authority explicitly states otherwise. Teeth should not be visible. A neutral face also makes it easier to distinguish real shadows from expression-related changes. Glasses require special attention: reflections, tinted lenses, and frames crossing the eyes can make an otherwise well-lit image unusable.
Do not judge the photograph only by whether it looks attractive. Portrait lighting often uses side shadows, rim light, or dramatic contrast to add depth. Those techniques are precisely what a biometric image should avoid. The most compliant photograph may look less polished because it is intended to be consistent, readable, and unambiguous.
Before submission, compare the final file or print—not the unedited camera preview—with the current instructions of the consulate or visa application center. If an automated checker rejects the image, treat that warning as useful evidence rather than an inconvenience. Red flag: fix it before you submit. A new capture is cheaper and faster than correcting an avoidable photo problem after an appointment or application filing.
Final Checklist for Schengen Visa Photo Lighting
Final compliance checklist
- The face is evenly illuminated from both sides.
- There are no hard shadows on the face or background.
- Both eyes are visible, with no eyeglass glare.
- The background is plain, clean, and evenly exposed.
- The applicant faces the camera directly with a neutral expression.
- Hair, hats, and accessories do not obscure facial features, except where permitted for documented religious or medical reasons.
- The image is sharp, natural in color, and free from filters or retouching.
- The crop, dimensions, file type, and print method match the responsible authority’s current instructions.
Lighting cannot be assessed independently from the final composition. A face that is evenly lit but too small in the frame may still fail. A correctly sized head with a shadow over one eye may also fail. Review the entire image as an identity document. This is why professional studios should maintain a repeatable setup, test each applicant’s glasses and hair arrangement, and inspect the delivered file after resizing.
When instructions appear to differ, apply the more specific and current instruction from the authority handling the application. A general online checklist is not a binding substitute for a consulate or visa center’s requirements. Keep the original photograph and note which version was submitted, particularly when the application includes both a printed photograph and an electronic upload.
The safest workflow is deliberately unglamorous: prepare a plain setting, use diffused frontal light, take several frames, inspect facial detail at full size, and submit only the version that remains clear after processing. The camera does not negotiate, and biometric review is not a beauty contest. It rewards consistency.
Frequently Asked Questions
What is the best lighting for a Schengen visa photo?
Use two soft light sources placed symmetrically in front of the applicant, slightly above eye level, or use a large diffused light directly behind the camera. The goal is even illumination across the forehead, cheeks, nose, and chin. Avoid a single bare lamp, direct flash, or strong window light from one side. Check the final image at full size for shadows, glare, and uneven skin tone before printing or uploading.
Are shadows allowed in a Schengen visa photo?
A small, soft shadow directly beneath the chin may occur naturally, but visible shadows on the face, behind the head, or along the background should be treated as a compliance risk. Strong shadows can hide facial contours and interfere with automated comparison. Reposition the lights, increase diffusion, and move the applicant away from the background. Red flag: fix it before you submit.
Can I use flash for a Schengen visa photo?
A flash is not automatically prohibited, but an undiffused flash often creates glare on glasses, shiny skin, or the background. It can also produce harsh shadows behind the head. If flash is used, bounce or diffuse it and test the result at full resolution. A controlled studio setup with soft, balanced light is safer than a direct on-camera flash aimed at the face.
Can I take a compliant Schengen visa photo at home?
A home photo can work if the lighting, camera position, background, framing, and file or print specifications meet the responsible Schengen authority’s instructions. Use a tripod or stable support, disable beauty filters, and inspect the image closely. A phone’s portrait mode is not a substitute for biometric compliance. If the face contains shadows or digital retouching, take another photograph.