
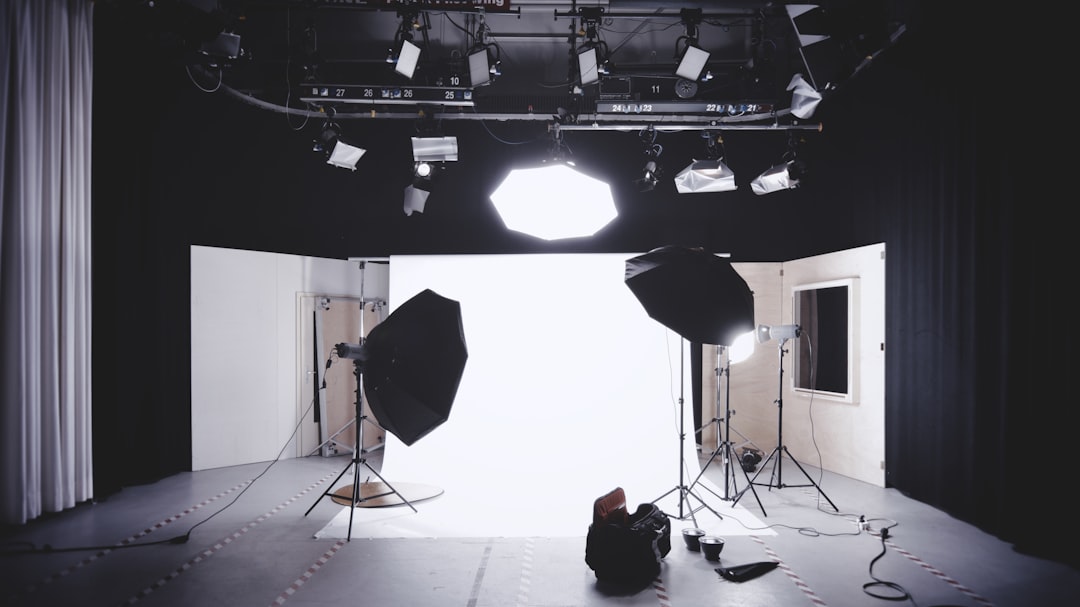
For a Schengen visa photo, use a plain, evenly lit, light-colored background—normally white, off-white, or light gray—with no patterns, objects, shadows, or visible edges. The background must contrast clearly with your face and hair without creating a halo. Requirements are based on biometric usability and applicable consulate guidance, so confirm the destination mission’s current instructions before submission. A studio can correct framing; it cannot make a poor background compliant after the fact.
A Schengen visa photo should have a plain, evenly lit, light-colored background—typically white, off-white, or light gray—with no shadows, patterns, objects, or visible edges. The background must separate your face, hair, and shoulders clearly enough for biometric processing. A pure white background is not the only possible option, and a decorative studio portrait is not an acceptable substitute. The practical rule is simple: clean, uniform, light, and visibly distinct from the applicant.
Background problems are among the easiest photo defects to prevent and among the most irritating to discover after an application has been lodged. A dark band behind the neck, a curtain fold, a wall corner, or a shadow cast by the head can make an otherwise sharp photograph unsuitable. Requirements can also be presented slightly differently by a Schengen consulate, external visa center, or local application provider. Treat the applicable destination mission’s current instructions as controlling, while using biometric principles as your quality check.
Why the Schengen Visa Photo Background Matters
The background is not a decorative detail. It creates the visual separation that allows facial features, hairline, jawline, and shoulder contours to be identified consistently. In a biometric image, the system needs a stable field behind the head rather than a scene that competes with it. A background that looks harmless on a phone can reveal gradients, wrinkles, or shadows when printed or processed by an application center.
For most Schengen visa applications, the safest choice is a uniform, light-colored background. White is commonly used, but off-white and light gray can be technically safer when they preserve contrast around pale hair, a white shirt, or a light complexion. The objective is not to achieve the brightest possible background. It is to produce an even background with clear facial definition and no visual distractions.
This is where passport-photo standards differ from flattering portrait photography. A portrait photographer may use a textured wall, controlled rim light, or a soft shadow to create depth. Those techniques are useful for a portrait and poor practice for a biometric submission. The camera does not negotiate.
Binding requirement versus practical caution
The binding requirement is the rule applied by the consulate or authorized visa application provider processing your file. In general, the image must be clear, evenly exposed, and taken against a plain, light-colored background. Practical caution goes further: avoid anything that could be interpreted as unevenness, contamination, or insufficient contrast.
- Usually safest: uniform white, off-white, or light gray.
- High risk: blue, green, beige, dark gray, colored gradients, and patterned backdrops.
- Unacceptable in practice: furniture, curtains, plants, wall decorations, people, visible seams, and strong shadows.
For a broader explanation of biometric image quality, remember that the background is only one part of the evaluation. Facial position, eye visibility, expression, image sharpness, and the absence of glare matter as well.
What Makes a Compliant Biometric Photo Background?
A compliant biometric photo background should appear substantially uniform from edge to edge. That does not mean every pixel must have mathematically identical brightness, but it does mean the viewer should not see a spotlight, dark corner, fold, wall joint, or shadow behind the applicant. Uneven lighting is particularly common when an applicant stands too close to a wall. The head then casts a visible shadow, especially under the chin or beside the ears.
Positioning solves much of this problem. Stand several feet in front of the background when the studio permits it, and use broad, diffused lighting aimed to illuminate the face without creating a hard outline behind the head. Do not stand beneath a ceiling light that produces deep eye sockets or a shadow under the nose. Do not use a flash pointed directly at a glossy wall. Glare on the background can create a bright patch that makes the field look nonuniform.
Contrast without a halo
The background must be light, but your head and shoulders must remain clearly visible against it. A white shirt against a white background can erase the shoulder line. Very light blond or gray hair may also disappear into an overexposed white field. The answer is not to introduce a colored background. Adjust the clothing, exposure, and lighting so the face and head remain defined while the background stays plain.
Hair deserves careful inspection. Hair over the eyebrows, a loose fringe across the eyes, or a heavy shadow along the hairline can affect facial visibility. The background may be perfect and the image may still fail because the biometric landmarks are obscured. A neutral expression, closed mouth, and eyes looking directly at the camera are equally important.
If the software cannot read your face clearly, the officer will not rescue the image. For related preparation principles, see the guidance on visa photo requirements; country-specific instructions may add technical details that should be checked before printing.
Step-by-Step Guide to Creating the Right Background
Use a controlled process rather than judging the image only by whether it looks acceptable in a casual snapshot. First, select a plain background with no visible texture or seam. Second, place the applicant far enough away to reduce the cast shadow. Third, use even light from both sides of the face, keeping the eyes visible and avoiding glare from glasses. Fourth, capture the image straight on, with the head centered and the shoulders level.
Step-by-step background check
- Inspect the edges: Look for curtains, furniture, wall corners, backdrop clips, or dark strips.
- Inspect behind the head: Check for a halo, hard shadow, bright hotspot, or visible gradient.
- Inspect the lower frame: Make sure clothing and shoulders do not blend completely into the background.
- Inspect the face: Confirm that both eyes, eyebrows, nose, and mouth area are unobstructed.
- Inspect the final output: Review the actual printed or uploaded image, not merely the camera preview.
A reputable studio should be able to explain its lighting and cropping process. Ask to see the result at full resolution. Excessive retouching, artificial background replacement, or aggressive whitening can introduce edges and unnatural artifacts. Digital editing should not alter facial features or create a background that looks pasted behind the applicant.
Parents preparing an infant’s application should take particular care. Babies may require a different setup to achieve a clear face and uniform background, but toys, hands, blankets with patterns, and another person’s visible body should not appear in the image. The child’s face must remain the subject, with the background as clean as possible.
Before submission, compare the image with the current instructions from the relevant consulate and visa application center. A studio’s claim that an image is “standard” does not override the receiving authority’s requirements. The same discipline used in passport photo requirements is useful here: verify the result, do not assume the equipment has done so.
Common Schengen Visa Photo Background Mistakes
Several background defects recur in applications. The first is the household-wall photograph: the wall may appear plain, but uneven daylight creates a darker side, a visible baseboard, or a patch of reflected light. The second is the bedsheet backdrop. It often contains folds and produces a different shade behind the head and shoulders. The third is the “almost white” background, where editing has removed detail from the face or created a bright outline around the hair.
Common mistakes to correct before submission
- Shadow directly behind the head: Move the applicant away from the wall and soften the lighting.
- Background too dark or strongly colored: Retake the photograph against a light, neutral surface.
- Visible texture or pattern: Replace the backdrop; cropping does not remove texture near the face.
- White clothing merging into white: Use a non-white top where permitted, while keeping clothing simple.
- Uneven digital replacement: Avoid cutout edges, halos, and artificial blur.
- Glare or reflective patches: Change the light angle and remove reflective objects from the background.
- Background visible through hair: Retake rather than attempting precise hair-by-hair editing.
Do not confuse a background problem with a size problem. Correct dimensions cannot repair a shadow, and a compliant background cannot compensate for a face that is too small, tilted, smiling with visible teeth, or partly hidden by hair. Glasses with reflections, tinted lenses, and heavy frames can also reduce eye visibility. Keep the entire image under review.
Red flag: fix it before you submit. A second photograph is inconvenient; a delayed or rejected application is more inconvenient.
When in doubt, obtain a new image from a studio familiar with Schengen applications and bring the destination authority’s instructions with you. Requirements may be harmonized across the Schengen area, but processing practice and submission systems are not identical. Careful preparation is less expensive than trying to explain an ambiguous photograph after submission.
Frequently Asked Questions
Can I use a white background for a Schengen visa photo?
A white background visa photo is generally acceptable when it is plain, evenly illuminated, and free from shadows, texture, objects, or visible seams. Pure white is not automatically better than off-white or light gray. If white clothing or light hair merges into the background, the head and shoulders may lose definition. The photograph must still satisfy the destination consulate’s technical instructions and any application-center specifications.
Does a Schengen visa photo have to have a pure white background?
A colored background is risky for a Schengen visa photo. The usual expectation is a plain, light-colored background with consistent lighting and sufficient contrast around the head and shoulders. Pale gray or off-white may be accepted in practice, while blue, beige, green, patterned, or visibly tinted backgrounds can create avoidable objections. Do not rely on a general online editor; check the current instructions of the consulate or visa center handling your application.
What backgrounds are not allowed in a biometric visa photo?
No. The background should not contain shadows, glare, furniture, curtains, decorations, people, marks, gradients, or visible corners. It also should not show a strong halo around the head. A plain wall may work only if it is evenly lit and produces a clean, uniform result. Wrinkles in a fabric backdrop, a door edge, or a dark strip near the shoulders can make the image look noncompliant and may interfere with automated checks.
How can I check whether my Schengen visa photo background is compliant?
The safest approach is to have the photo taken against a professional, uniform light background and to inspect the final file or print at full size. Check for shadows behind the head, uneven exposure, background texture, and loss of contrast around hair and clothing. The image must also meet facial positioning, size, expression, and image-quality requirements. If any element is borderline, retake it before submitting the application.