
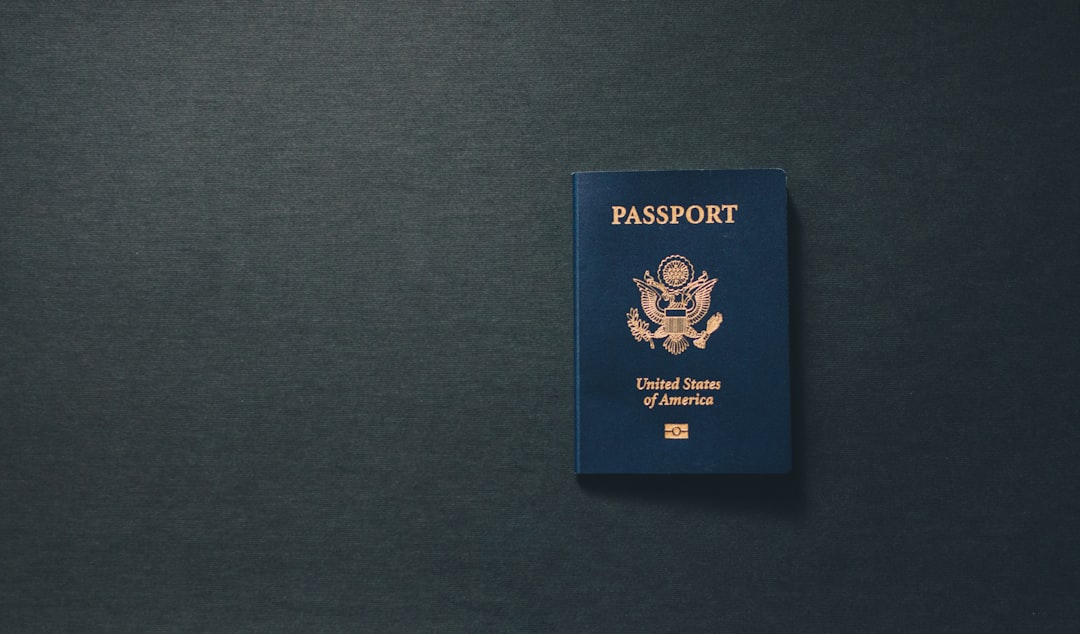
Digital visa photo requirements in Asia vary by destination, application portal, and visa type. Official mission instructions commonly specify image format, pixel dimensions, file size, background, and face positioning separately. China may require a 33×48 mm equivalent image with a pure white background, while India often uses a square digital photo. Save the final image as a high-quality JPEG only when the portal permits it, and verify every limit before uploading. Measure twice, submit once.
Digital visa photo requirements in Asia are controlled by the destination mission and application system—not by a universal “Asian visa photo” standard. Before uploading, confirm the required image format, pixel dimensions, maximum file size, background color, facial scale, and whether the portal accepts a digital file at all. China, India, Japan, and South Korea can require noticeably different specifications, so a photo accepted for one application may fail another at the upload screen.
The practical answer is simple: prepare the photograph only after identifying the country, visa category, and official application portal. Then preserve the original high-resolution file and export a separate submission copy. This prevents the familiar bureaucratic problem of having one image that is technically the right size but visibly soft, badly cropped, or saved in the wrong format.
Why Digital Visa Photo Requirements in Asia Matter
Online visa systems usually judge the file before a human reviews the application. That first check may look for a permitted extension, a maximum file size, a particular width-to-height ratio, or a minimum and maximum pixel count. A technically valid JPEG can still be rejected if the face is too small, the background is uneven, or the image contains compression damage.
Keep three concepts separate: physical size, digital dimensions, and file size. Physical size is expressed in millimeters, such as China’s familiar 33×48 mm format. Digital dimensions are measured in pixels. File size is the storage weight of the image, usually stated in KB or MB. Changing one does not automatically correct the others. Cropping changes the ratio; resizing changes pixels; compression changes file size and quality.
Country examples show why copying a previous visa photo is risky. China visa applications commonly specify a 33×48 mm portrait image and a pure white background. India commonly uses a square digital photograph in online processes. Japan and South Korea can have different requirements depending on the application route and mission. Use the country-specific guidance in China visa photo requirements and specifications rather than treating a neighboring country’s format as close enough.
What to confirm before editing
- The exact visa category and responsible embassy, consulate, or visa center.
- Whether the application is online, paper-based, or both.
- Accepted file extensions, color mode, pixel dimensions, and maximum file size.
- Background, expression, glasses, head covering, and facial-position rules.
- Whether a printed photograph must also be submitted at an appointment.
How to Prepare a Digital Visa Photo Step by Step
A reliable workflow begins with the official source. Start at the destination mission’s current visa page or the application portal itself. Look for a technical photo section, not only the general document checklist. The portal may display its own upload limits after you select the visa type, and those limits can be more specific than a broad embassy page.
Next, photograph the applicant against a clean, evenly lit background. Use diffuse light from in front of the face, not a strong ceiling lamp or a window directly behind the subject. Keep the camera at eye level, shoulders relaxed, and the head centered. The face should look natural and unobstructed. Do not use beauty filters, artificial background replacement, tinted lenses, or a casual selfie crop. Application software is not known for appreciating creative interpretation.
After capture, crop to the destination’s required ratio before resizing. Check that the top of the head, chin, and side margins match the published composition guidance. Export a master file first, then create the upload copy. For JPEG submissions, use RGB color and a high-quality export setting. Inspect the result at 100 percent magnification for blocky edges, halos, or loss of detail around hair and clothing.
A practical file-preparation sequence
- Save the original image separately from all edited versions.
- Crop using the required aspect ratio, such as portrait or square.
- Resize to the specified pixel dimensions, if listed.
- Export in the permitted format, commonly JPEG, without unnecessary re-saving.
- Check the final visa photo file size in the file properties.
- Open the actual upload page and test the file before completing the application.
For broader composition checks, the guidance in perfect biometric shot is useful, but destination-specific instructions still control the submission.
Common Digital Visa Photo Mistakes
The most common failure is using the correct country but the wrong process. A consulate may request one format for a paper application, while an online visa portal requests a square image with a separate pixel limit. A visa center may also require a printed copy at biometrics. Confirm the route before you open the editing software.
Another frequent mistake is confusing a white-looking background with a pure white one. Gray corners, visible walls, shadows behind the head, and uneven lighting can create problems—particularly where the instructions require a snow-white or pure white background. Photographing close to a wall often produces a dark outline around the hair. Move the subject away from the wall and light the background evenly.
Do not use a scan of a printed photo unless the instructions specifically allow it. Scans often introduce dust, color shifts, moiré patterns, and soft facial detail. Screenshots and images downloaded from messaging applications are also poor working files because they may be recompressed without warning. A file can fit under the maximum size and still be too degraded for a careful review.
Country-specific checks worth making
- China: verify the 33×48 mm equivalent, portrait ratio, pure white background, facial positioning, and the current digital upload rules for your application route.
- India: check the square format, pixel limits, file-size ceiling, and any portal instructions tied to the selected visa category. See the guide to India’s passport requirements and application process for related document planning.
- Japan: confirm whether the mission or online system requests a specific recent-photo dimension and whether a printed image is also needed. Review Japan visa requirements alongside the current mission instructions.
- South Korea: check the exact online application platform and local mission guidance rather than borrowing Japan’s or China’s settings.
Finally, retain the filename and metadata only as needed. Some portals reject unusual characters or oversized names, while others ignore metadata entirely. A simple filename such as surname_visa_photo.jpg is usually easier to manage, but the portal’s instructions take priority.
Final Quality Check Before Uploading
Before submission, use a short quality-control checklist. The final image should show one applicant only, with a neutral expression, even lighting, accurate skin tone, and no visible shadows. Confirm that the head is not tilted and that the crop does not cut into the hair or chin. Check that glasses do not create glare and that any religious head covering leaves the required facial features visible.
Then verify the technical details from the actual file, not from the editing app’s preview. Confirm the extension, pixel width and height, aspect ratio, color mode, and file size. Upload the file through the official portal and read the confirmation or error message carefully. If the system accepts the upload but displays a visibly stretched or blurry preview, stop and correct the file; an upload receipt is not a quality certificate.
Keep the master photograph, final digital copy, and any printed versions organized in separate folders. If a family is applying together, label each file clearly and compare every image individually. Similar filenames and rushed uploads are small administrative details with surprisingly long legs. Measure twice, submit once.
Mission rules can change, and local posts may publish exceptions. Treat third-party photo tools as helpful editors, not as the final authority.
Frequently Asked Questions
What file size should a digital visa photo be?
There is no single visa photo file size for all Asian applications. Each embassy or online portal may set its own maximum file size, pixel dimensions, and accepted formats. Some systems accept only JPEG files, while others also allow PNG. Do not resize an image merely to meet a generic online recommendation. Open the official application instructions for your destination, check the exact limits, and confirm that the image remains sharp after compression.
What are the JPEG requirements for a visa photo?
JPEG is commonly accepted for online visa photos, but JPEG alone does not guarantee compliance. Check the portal’s required extension, maximum file size, pixel dimensions, and color settings. Export the image in RGB color, use a high-quality setting, and avoid repeated editing and saving, which can create visible artifacts around hair and facial edges. If the instructions permit PNG, use it only when there is a practical reason; follow the portal rather than a photographer’s default.
Are digital visa photo requirements the same across Asia?
Asian visa photo rules are not interchangeable. China commonly uses a 33×48 mm portrait format and a pure white background, while India frequently requests a square digital image for online applications. Japan and South Korea may apply different dimensions and portal rules depending on the visa process. The safest workflow is to identify the exact mission, visa category, and application platform first, then prepare the image to that specification.
Can I take my own digital visa photo with a phone?
A phone camera can produce a compliant digital visa photo if the image is evenly lit, sharply focused, correctly framed, and free from shadows or digital filters. Use a plain light background, keep the camera level with your eyes, and leave enough space around the head for precise cropping. Avoid portrait-mode blur, beauty effects, screenshots, and messaging-app compression. A professional photographer is useful when the portal has strict pixel or file-size limits.