
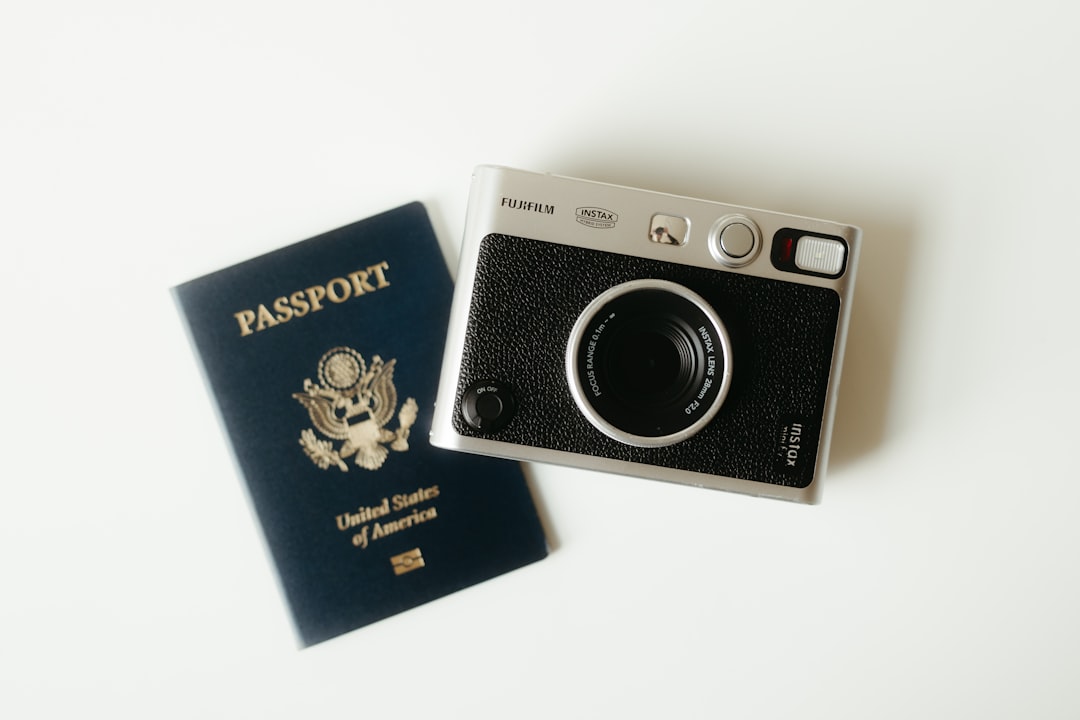
According to the U.S. Department of State, a standard online visa photo must be a square JPEG, 600 × 600 to 1200 × 1200 pixels, with a file size of 240 KB or less. Use 24-bit color and an sRGB color space when possible. The image must also meet composition, lighting, background, and facial-positioning rules. Check the finished file—not merely the original photograph—before uploading. Close is not compliant.
For a U.S. visa application, the digital photo usually must be a square JPEG measuring 600 × 600 to 1200 × 1200 pixels and no larger than 240 KB. That is the technical checkpoint. You must also meet the Department of State’s rules for head size, facial position, lighting, background, expression, and image quality. This guide explains how to prepare, export, inspect, and upload the file without confusing pixel dimensions with the complete photo standard.
US Visa Digital Photo Requirements: The Core Specifications
The most commonly used digital specification for an online U.S. visa application is a square image between 600 × 600 and 1200 × 1200 pixels. The width and height must match. A 600 × 800 image is not “close enough”; it is rectangular. Close is not compliant.
The file should be a JPEG in 24-bit color, with a maximum file size of 240 KB. The U.S. Department of State’s official visa photo guidance is the controlling reference, particularly if your application instructions identify a different submission method or photo tool.
These numbers describe the digital file, not the physical print size. A 2 × 2 inch printed U.S. visa photograph is a separate output requirement for cases that request a printed photo. Do not scan a print and assume the scan automatically satisfies the online upload rules. Scanning can introduce dust, uneven color, softness, and an unsuitable file size.
What the numbers mean in practice
- 600 × 600 pixels: the common minimum square dimension.
- 1200 × 1200 pixels: the common maximum square dimension.
- 240 KB: the common maximum digital file size.
- JPEG: the expected file format for the online upload.
- 24-bit color: a full-color image rather than grayscale or an indexed-color file.
Composition Rules Behind the Pixel Requirements
Start with a sharp, recent photograph taken against a plain white or off-white background. The face should be evenly lit, without a hard shadow on the wall or across the features. Keep the camera at eye level and position the applicant directly toward it. The head must be centered, with the full face visible and a natural, neutral expression.
Do not crop by guessing. The Department of State evaluates the relationship between the head and the entire frame, including the distance from the chin to the top of the hair. Hair itself is included in the visual assessment, although the precise top of the head can be difficult to define. Leave enough surrounding space for a compliant crop rather than cutting tightly around the face.
Remove eyeglasses unless they are medically necessary. Head coverings worn for religious purposes may be permitted, but they cannot obscure the face. Uniforms are generally inappropriate except for religious clothing worn daily. Avoid filters, beauty-mode smoothing, artificial background replacement, and digital alterations that change facial features.
Why composition still matters after resizing
Resizing an unsuitable image does not repair it. For example, converting a 2000 × 2000 pixel image to 600 × 600 pixels may produce the correct dimensions, but it cannot remove a background shadow or correct a tilted face. Likewise, a 1200 × 1200 image with the head occupying too much of the frame remains compositionally wrong. Let’s measure it before we submit it.
For broader biometric checks, see this practical guide to biometric image success. It addresses the small positioning decisions that software and reviewing officers can notice immediately.
Step-by-Step: Prepare and Verify the Digital File
After selecting the compliant photograph, create a square working copy. Crop first, then resize to a permitted dimension such as 600 × 600 or 1200 × 1200 pixels. Avoid repeated resizing, because each JPEG save can discard detail. Export once at the end whenever possible.
Set the file to RGB or 24-bit color and save it as JPEG. If your editor offers an embedded color profile, sRGB is the practical choice for consistent display and upload behavior. Then check the resulting file properties. Do not rely on the dimensions shown in the editing project; inspect the exported file that you will actually attach to the application.
Technical inspection checklist
- Confirm width and height are identical.
- Confirm both dimensions fall between 600 and 1200 pixels.
- Confirm the file extension and actual format are JPEG.
- Confirm the file size is 240 KB or less.
- Open the exported file to check focus, color, and crop.
- Use the Department of State photo tool or the application’s own upload validation when available.
A file under 240 KB is not automatically better if compression creates visible blocks around the eyes, hair, or jaw. Reduce unnecessary metadata first, then use moderate JPEG compression. Inspect at 100 percent, not only in a tiny thumbnail. A thumbnail can make a soft image look impressively innocent.
If the application rejects the upload, read the exact error message before changing the photograph. A pixel-dimension error requires a different fix from a file-size error. Keep the original untouched and make a new export so you can compare versions without losing the source image.
Common Mistakes That Cause Digital Visa Photo Problems
The most frequent mistake is confusing a U.S. visa photo with another country’s biometric standard. Schengen photos, U.S. passport photos, immigrant visa photos, and USCIS photos may share familiar concepts, but their dimensions, delivery method, and upload instructions are not interchangeable. Use the requirements attached to your specific application.
Another common error is uploading a screenshot, a PNG renamed as “.jpg,” or a photo copied from a messaging application. Renaming the extension does not convert the file. Messaging services may also resize or recompress the image, weakening detail and changing the final file size.
Applicants sometimes correct the technical file while overlooking visible defects: a gray background, side lighting, a smile, an open mouth, a head turned slightly away, or a crop that leaves too little space above the hair. These issues are especially risky because they can survive every pixel check.
A final rejection-risk review
- Compare the face and head position with the official Department of State examples.
- Check that the background is plain, evenly illuminated, and free of shadows or objects.
- Confirm that the applicant is facing the camera with both eyes visible.
- Look for glare, blur, red-eye, digital retouching, and compression artifacts.
- Verify the final exported file immediately before upload.
For the application itself, review the guide to US visa requirements and application process. If your case involves a USCIS filing rather than a standard Department of State visa upload, consult the separate USCIS photo standards; that is a different rule set, not a decorative variation.
“The camera sees millimeters, not intentions.” Measure the final crop, verify the exported file, and follow the instructions for the exact application type.
Frequently Asked Questions
What pixel dimensions are required for a U.S. visa photo?
For most online U.S. visa applications, the digital photo must be a square JPEG measuring at least 600 × 600 pixels and no more than 1200 × 1200 pixels. The file must generally be 240 KB or smaller. The image should use 24-bit color, and sRGB is the safest color profile. These technical specifications do not replace requirements for neutral expression, plain background, correct head size, and even lighting.
What is the maximum file size for a U.S. visa photo?
The digital U.S. visa photo file must generally be no larger than 240 KB. If your image exceeds that limit, reduce the file size without making the face soft, blocky, or visibly compressed. Begin with a properly sized square image, then export it as a JPEG using a quality setting that preserves facial detail. Confirm the final file size after export; editing software may change it during saving.
What file format does a U.S. visa photo need?
A U.S. visa photo should be submitted as a JPEG file, not a PDF, PNG, TIFF, or screenshot. The image should be square and in 24-bit color. A JPEG can still fail if it is heavily compressed, incorrectly cropped, or saved with a color profile that changes skin tones or the background. Technical format compliance is only one part of acceptance; the photograph must also satisfy the Department of State’s visual requirements.
Why might a U.S. visa photo be rejected if the file size is correct?
A digital visa photo can be rejected even when its pixels and file size are correct. Common causes include an off-white or shadowed background, uneven lighting, glasses, a tilted head, an open mouth, excessive retouching, poor focus, and a head that is too large or too small. Review both the technical file properties and the visible composition. The camera sees millimeters, not intentions.